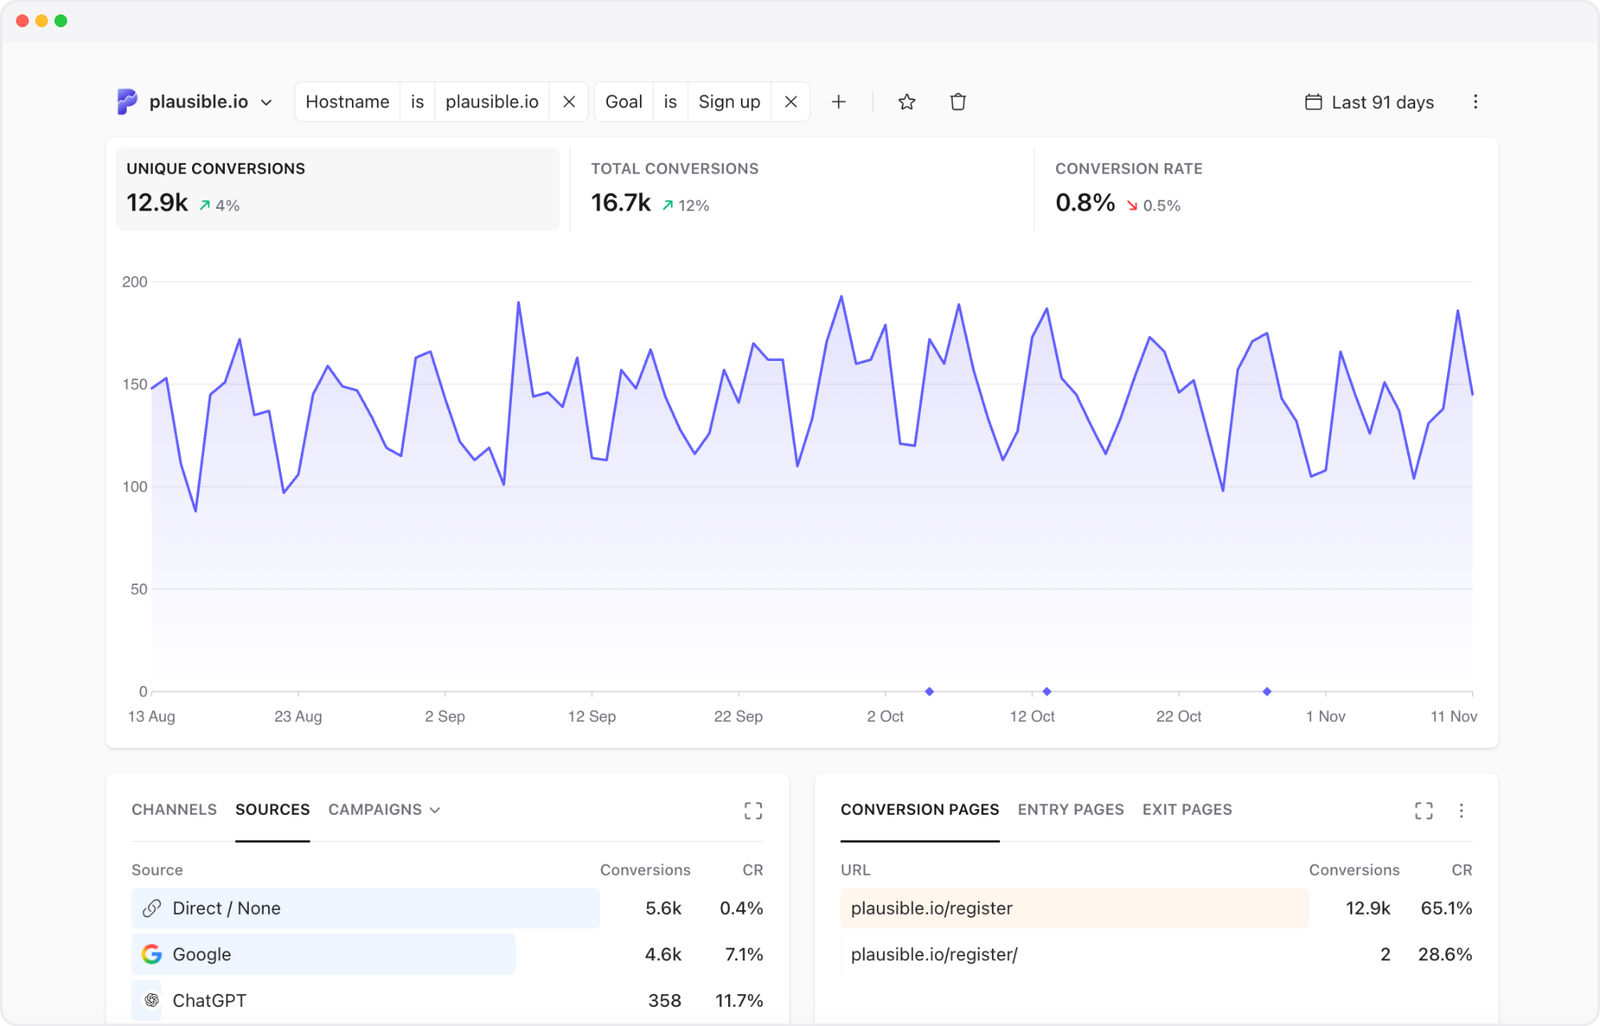
You can measure website visits and goal conversions without collecting personal profiles. For instance, when an account is created on your website, its server can send a simple signup event to your analytics tool. You decide what to send and the visitor does not need to load an analytics script for that event to be recorded.
This is server-side event tracking. It gives you control over the data leaving your website and helps you record successful actions even when browser tracking is blocked.
This guide explains the privacy and data quality benefits, then walks through recording a confirmed signup with Plausible’s Events API.
- What does server-side tracking mean here?
- Why consider server-side events?
- What can server-side tracking miss?
- How Plausible’s Events API works
- Start with one confirmed action
What does server-side tracking mean here?
Server-side means the collection happens on a server rather than in the visitor’s browser. An analytics service then turns that data into reports. You can add collection to your own website or use a service that measures traffic passing through its servers.
There are three approaches worth distinguishing:
- Server logs record requests for pages, images and other files reaching a web server, including requests from bots. Log analysis tools turn those records into reports.
- Client-side tracking uses JavaScript in the visitor’s browser to record pageviews and interactions such as clicks.
- Server-side events record actions your website’s server confirms, such as a successfully created account, and send them directly to your analytics tool.
Our server logs vs JavaScript analytics article covers the differences in detail. Here, we’ll focus on setting up server-side events. You choose when an action counts and send an event at that point. There is no need to import or analyse server logs.
Why consider server-side events?
Server-side events give you control over what your website sends and let you record successful actions without depending on a separate analytics request from the browser.
Privacy: control exactly what data you send
Your website’s server sends the analytics event. You choose what information to include before it leaves your server. That includes the event name and any extra details. You can send it directly to your analytics tool without loading a third-party analytics script in the visitor’s browser.
For a completed signup, you can send an event describing the action while keeping the person’s email address and account details in your own database. Send only the details you need rather than the full contents of the signup form. Check page URLs and custom properties, the extra details you attach to events, for personal information too.
This control is useful when your organisation wants to minimise data collection or restrict third-party scripts as part of its privacy requirements.
Moving collection to a server does not automatically make it GDPR compliant. What you collect and what the recipient does with it still matter. Sending data to Google Analytics or an advertising service through your server does not, by itself, change what those services do with it. Server logs can also retain IP addresses and sensitive URLs, so check what your own website and hosting provider store too.
Data quality: record confirmed actions without browser blockers
A browser ad blocker can prevent an analytics script from loading or stop it from sending data. Once your website’s server has completed an action, it can send the event directly to your analytics tool. A browser extension cannot block that server-to-server request and the visitor does not need to keep the tab open for it to be sent.
You can also record the outcome at the point it becomes true. Send Signup after your website creates an account rather than counting a click on “Create account” or a visit to a thank-you page. With the event sent once after account creation, a failed form submission or a reload of the confirmation page should not produce another signup event.
That improves the meaning and delivery of your conversion data, but you still need to handle failed API requests and prevent duplicate sends. Automated activity from bots also needs to be filtered out. Your website’s account records remain the source to check for how many accounts were created. Analytics helps you understand which visits led to those signups.
Keep browser measurements alongside confirmed outcomes
Adding server-side events does not require removing browser tracking. You can keep pageviews, referral information and scroll depth from the browser while sending confirmed signups from your server.
Combining browser measurements with server-confirmed outcomes lets you understand both the visit and its result. Your analytics tool needs to support both collection methods. Browser behavior, such as scrolling, still needs to be measured in the browser.
This lets you see how people use your pages alongside the actions your server confirms. It does not recover browser measurements that were blocked or never sent. A server-side signup can still be counted without its original referral source if there is no matching visit and you send no referral or campaign details. Record each signup in one place so the browser and server do not both count it.
What can server-side tracking miss?
Your server can record what it handles, but it cannot automatically see everything happening in the visitor’s browser. These are limits on what a server-only setup collects. Adding server-side events does not remove information already collected by browser tracking or disable those reports in your dashboard.
- Interactions that do not contact the server. Scrolling through an article, clicking an outbound link or opening a menu may happen entirely in the browser. You need browser code to observe those actions and send an event if you want to measure them.
- Pageviews that do not reach your server. A page loaded from the browser’s cache or navigation handled entirely within a single-page website may not produce a new request to your server. Recording server requests alone will miss those views.
- Where a visitor originally came from. A server-side signup does not automatically tell you the visitor’s original referral source or campaign. Your setup needs to supply those details or connect the event to a visit where they were already recorded. How that connection works depends on your analytics tool. Recording the signup does not recover a landing pageview that was never recorded.
Browser tracking is useful for collecting the wider picture of a visit, including pageviews, referral sources, campaigns and engagement measurements. Your server can add confirmed outcomes. With server-only collection, you need to supply visit details explicitly and browser-only behavior still needs browser code to measure it.
Server-side tracking also needs code you maintain: deciding when to send events, handling failed sends and preventing duplicates. The walkthrough below uses browser pageviews alongside one server-side signup event, so it does not require moving all collection to your server.
How Plausible’s Events API works
Plausible is privacy-friendly by default, including when you use our JavaScript snippet in the browser. It uses no cookies or persistent visitor identifiers and does not track people across websites. Server-side collection gives you additional control over what you send, but you do not need it to make Plausible privacy-friendly.
These privacy principles apply to both our script and our API. Our hosted service processes and stores visitor data in the EU. Plausible uses visitors’ IP addresses and browser details to count visitors without storing those original values. Our data policy explains how they are used.
For browser tracking, Plausible also offers an optional proxy that routes the script and analytics requests through your own domain to bypass most ad blockers. This keeps collection in the browser; it is different from sending events directly from your server.
The Events API is a way for your website’s server to send analytics data directly to Plausible. Your server sends a request describing what happened and Plausible processes it for the same dashboard used by browser tracking.
It accepts two types of events:
- Pageviews, sent with the event name
pageview. Send one when a visitor views a page you want to record. - Custom events, sent with a name you choose, such as
SignuporPurchase. These record actions you define. Add a matching custom event goal to see their conversions in your dashboard.
Each event needs a name, a full page URL and the domain you added to Plausible. Your server also needs to pass the visitor’s browser and IP details correctly, as explained in step 3 below.
You can include optional information:
- Referral sources and campaigns: send the referral URL in
referrerand UTM campaign parameters in the pageurl. - Custom properties: use
propsto add details such as a product category or plan type, without sending personal information. - Revenue: use
revenueto send an amount and currency for revenue tracking, with the dashboard setup described in our revenue tracking guide.
The API records what you send. It does not automatically find pageviews, signups or other activity on your website. You decide when your server should send each event. Browser measurements such as scroll depth still need to be collected in the browser.
Example: Track a confirmed signup
Keep browser tracking in place and add one event when your server successfully creates an account. You’ll need a site added to Plausible and a developer with access to your website’s server code. If you only control a page editor, see our integration guides.
1. Add the goal
In your Plausible site settings, add a custom event goal named Signup, matching the capitalization exactly. See the goal setup instructions.
Count only successfully created accounts. If a browser script already sends Signup, stop that event when you move it to the server. Keep browser pageview and engagement tracking enabled.
2. Send the event after the account is saved
While handling the visitor’s signup submission, send this request after the account has been saved successfully:
curl -i https://plausible.io/api/event \
  -H 'Content-Type: application/json' \
  -H "User-Agent: ${VISITOR_USER_AGENT}" \
  -H "X-Forwarded-For: ${VISITOR_IP}" \
  --data '{
    "name": "Signup",
    "url": "https://example.com/signup",
    "domain": "example.com"
  }'
This shows the request format, not a complete signup integration. Add the equivalent request to your server code. Replace example.com in both the full page URL and site domain. Set the two variables from the visitor’s actual browser and IP details, as described next.
3. Forward the visitor details correctly
Copy the visitor’s original User-Agent header, which describes their browser and device, and set X-Forwarded-For to their IP address. Using your server’s details can distort visitor counts or cause bot filtering to reject the event.
If your site uses a CDN or proxy, follow your hosting provider’s instructions for finding the real visitor IP. Trust forwarding headers only from your configured services. If X-Forwarded-For contains a list, the visitor’s IP must be the first valid address.
Cloudflare: if CF-Connecting-IP is present, Plausible uses it instead of X-Forwarded-For. Set it to the visitor’s IP too, rather than the proxy’s outgoing address. See the header guidance.
To join an existing visit, the event must carry the visitor’s own IP and User-Agent, use the same website hostname and arrive within 30 minutes of their last event. It then retains that visit’s referral and campaign information.
Without a match, it starts a new visit, potentially a new visitor too. Its source comes from the optional referrer field or UTM parameters in url; without either, it appears as Direct / None. The example above sends neither. For server-only collection, supply those details when the visit is first recorded. Later matching events retain the original source. See the attribution rules.
4. Prevent duplicate sends and protect signup
Send once per successful account creation, including when your website retries its code. A timed-out request may already have reached Plausible, so retrying can count it twice.
Set a time limit for the analytics request and handle failures separately. An analytics connection problem should not prevent account creation.
5. Verify the result
- Complete a test signup on your own website, then check that
Signupappears under goal conversions in Plausible. Check total conversions too, since duplicate events from one visitor may not increase unique conversions. - Submit a form that fails: it should send no signup event. Confirm browser pageviews and engagement measurements still arrive.
- Start a fresh visit from a known referral or campaign link, then sign up and check the conversion’s source.
- Inspect response headers.
202 Acceptedalone does not guarantee recording;x-plausible-dropped: 1means the event was dropped.
To check which IP Plausible sees, send a separate test with X-Debug-Request: true from the same server or worker as your real events. It returns HTTP 200 with the IP address. Check that address and the outgoing User-Agent belong to the visitor. Debug requests are not recorded, so remove the debug header for real events. See the debugging instructions.
Start with one confirmed action
Start with a signup your server can verify. Keep the event free of account details, send it once after account creation succeeds and test that it appears in your dashboard. Check failed submissions and duplicate requests too.
Once that works, use the same approach for other actions your website’s server confirms. The Events API reference covers pageviews, custom properties and revenue when you need to extend your setup.
